[Django] REST API server with Redis
Goal
- To make REST API server for IoT
- To interface with Redis
Intro
Practice
1. Make Django Project
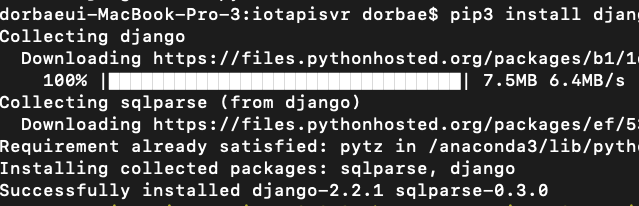
1.1. Install django
$ pip install django
1.2. Create Django project
- Avoid reserved word as project’s name. eg. _django, _test
- And then, new directory’ll be created and some files for Django Framework are also created.
$ cd [WORKSPACE]
$ django-admin.py startproject [PROJECT_NAME]

djago-admin.py : Django’s command-line utility for administrative tasks
1.3. Proejct directory structure
[PROJECT]
|-- [PROJECT_NAME_DIR]
|   |-- __init__.py
|   |-- settings.py
|   |-- urls.py
|   |-- wsgi.py
|-- manage.py
- manage.py
- Django’s command-line utility for administrative tasks
- It is same thing as django-admin
- It can set the DJANGO_SETTINGS_MODULE environment variable so that it points to your project’s settings.py file
- Generally, when working on a single Django project, it’s easier to use manage.py than django-admin
- [PROJECT_NAME_DIR]
- Python packages are stored in this directory.
- You can import Python package by using this name
- e.g. import [PROJECT_NAME_DIR].urls
- [PROJECT_NAME_DIR]/__init.py__.py
- It is just empty file to announce parent directory is package.
- [PROJECT_NAME_DIR]/settings.py
- Settings/configuration for this Django project.
- [PROJECT_NAME_DIR]/urls.py
- The URL declarations for this Django project
- It is similar to a “table of contents” of Django.
- [PROJECT_NAME_DIR]/wsgi.py
- An entry-point for WSGI-compatible web servers to serve your project.
WSGI(Web Server Gateway Interface)
HTTP Request -> Web Server -> WSGI Server(Middleware) -> Web Application(Such as Django, flask)
2. Import project in PyCharm IDE
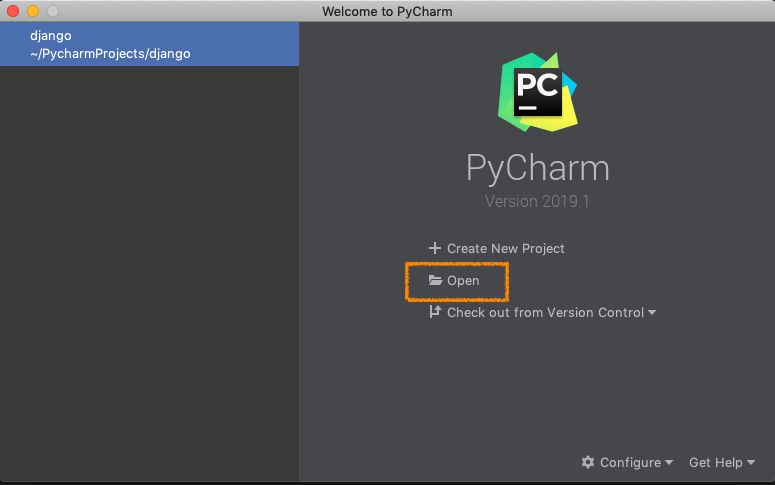
2.1. Open Project
- Execute PyCHarm IDE and click open button
2.2 Choose the Django project


3. Run application
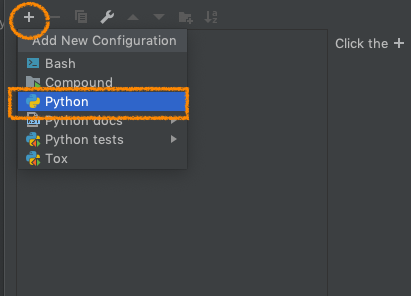
3.1. Edit run configuration
- Menu > Run > Run
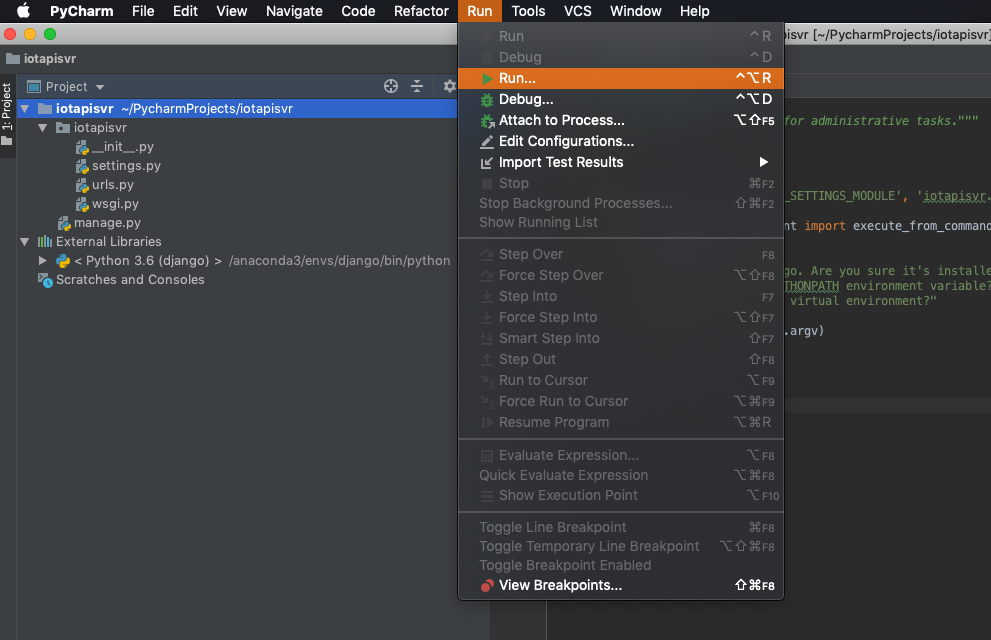
- Edit configurations
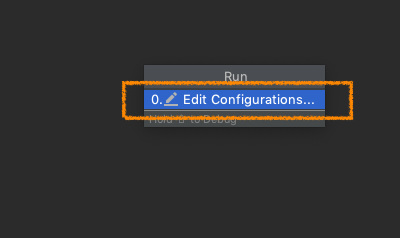
- Add new run configuration
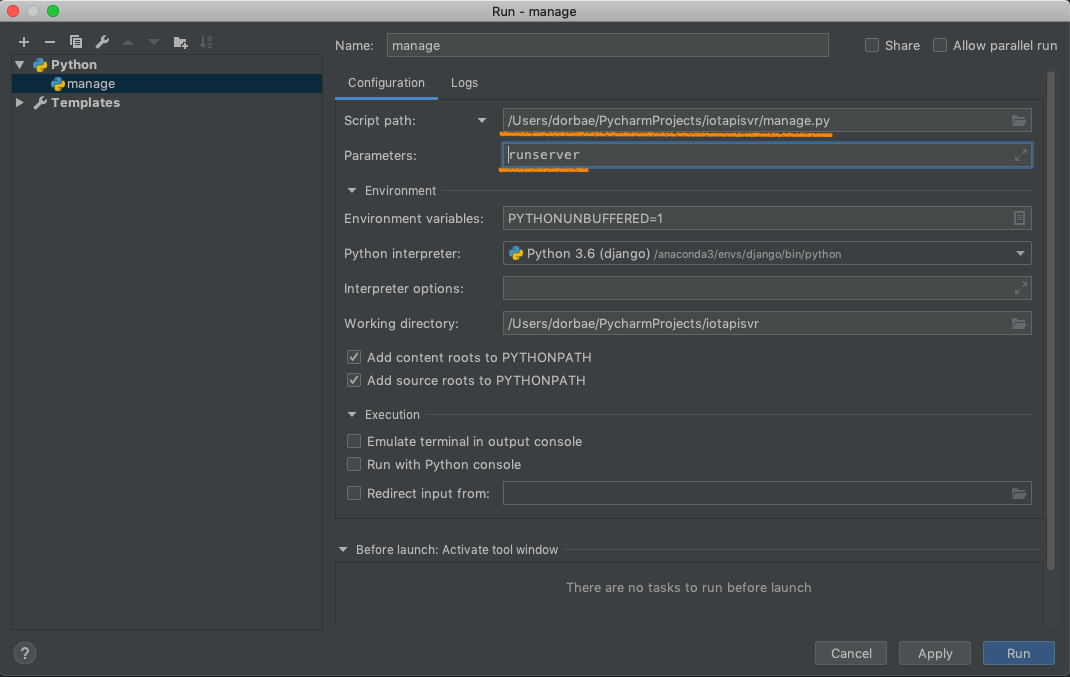
- Setup configuration
- Script path : Input path of manage.py file in Django project
- Parameters : Input ‘runserver’
runserver host:port e.g. runserver 0:8080 (0.0.0.0:8080)
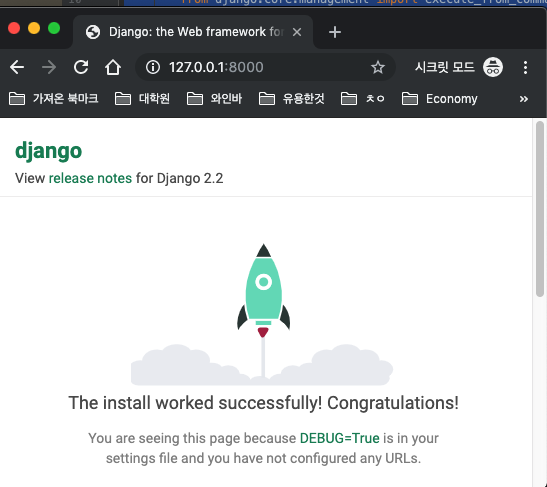
3.2. Run
- Run application
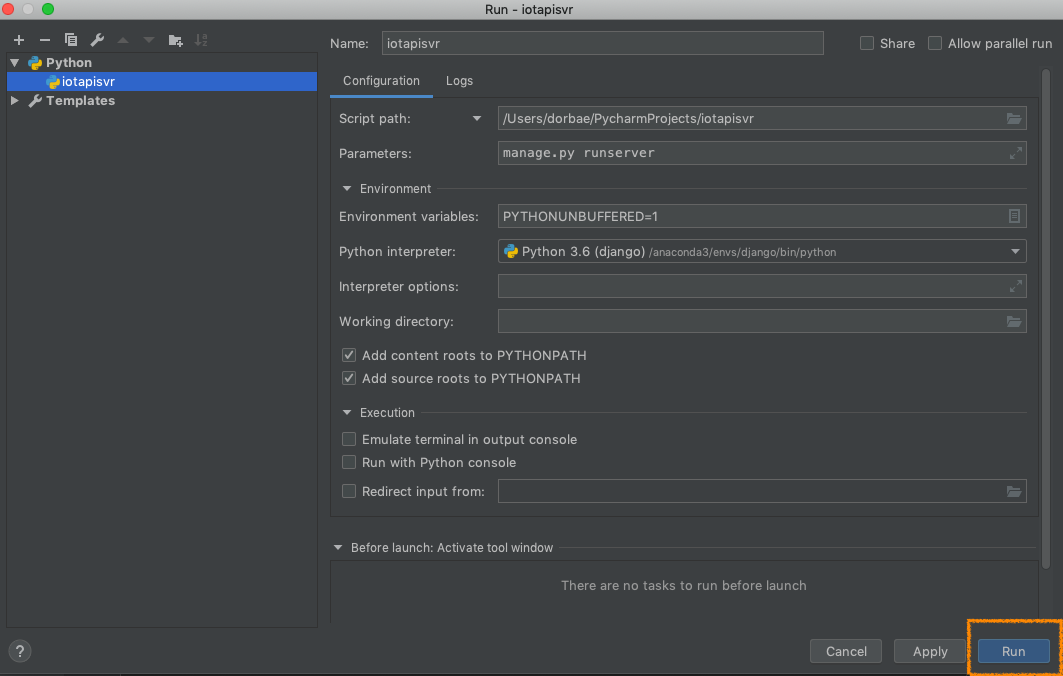
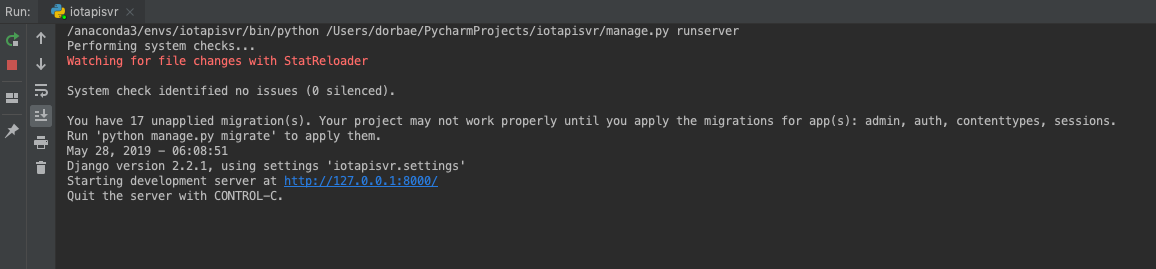
- Check whether application start up or not
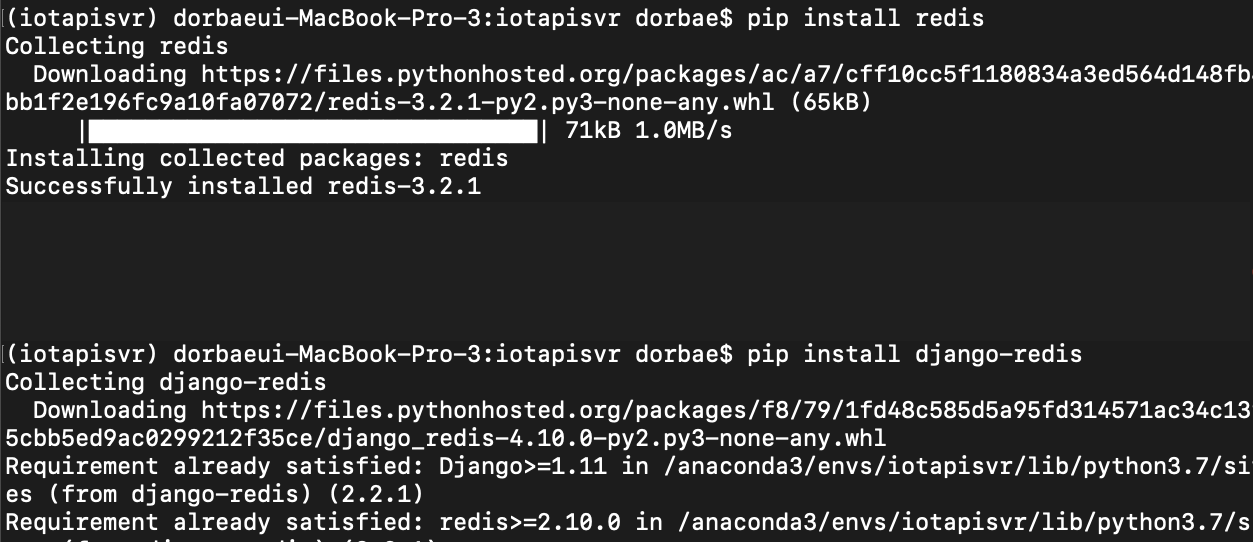
4. Install Module
- Install redis and django-redis
(env) $ pip install redis
(env) $ pip install django-redis
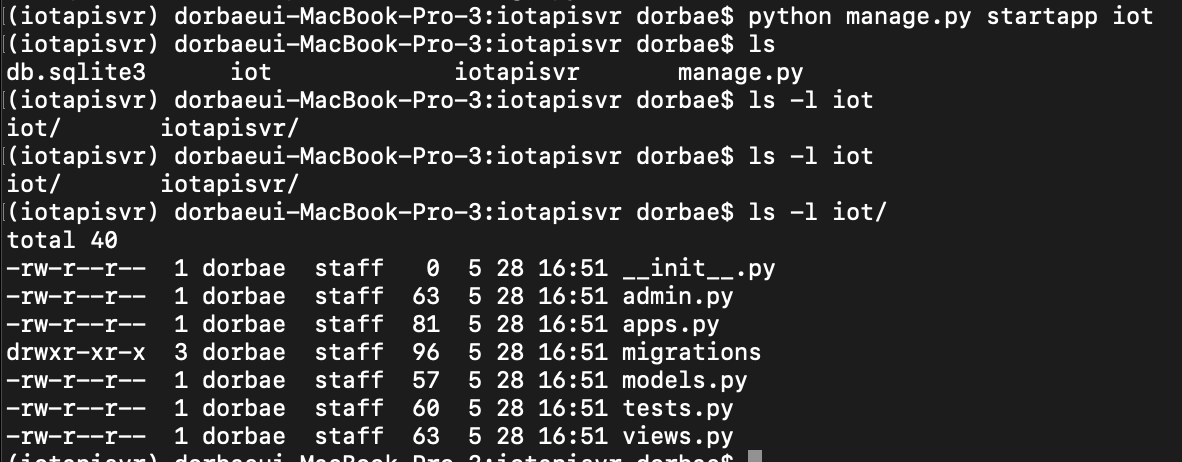
5. Make REST API app for getting Redis data
5.1. Create app
(env) $ manage.py startapp [APP_NAME]
5.2. Create view in app
- New > Python File > view.py
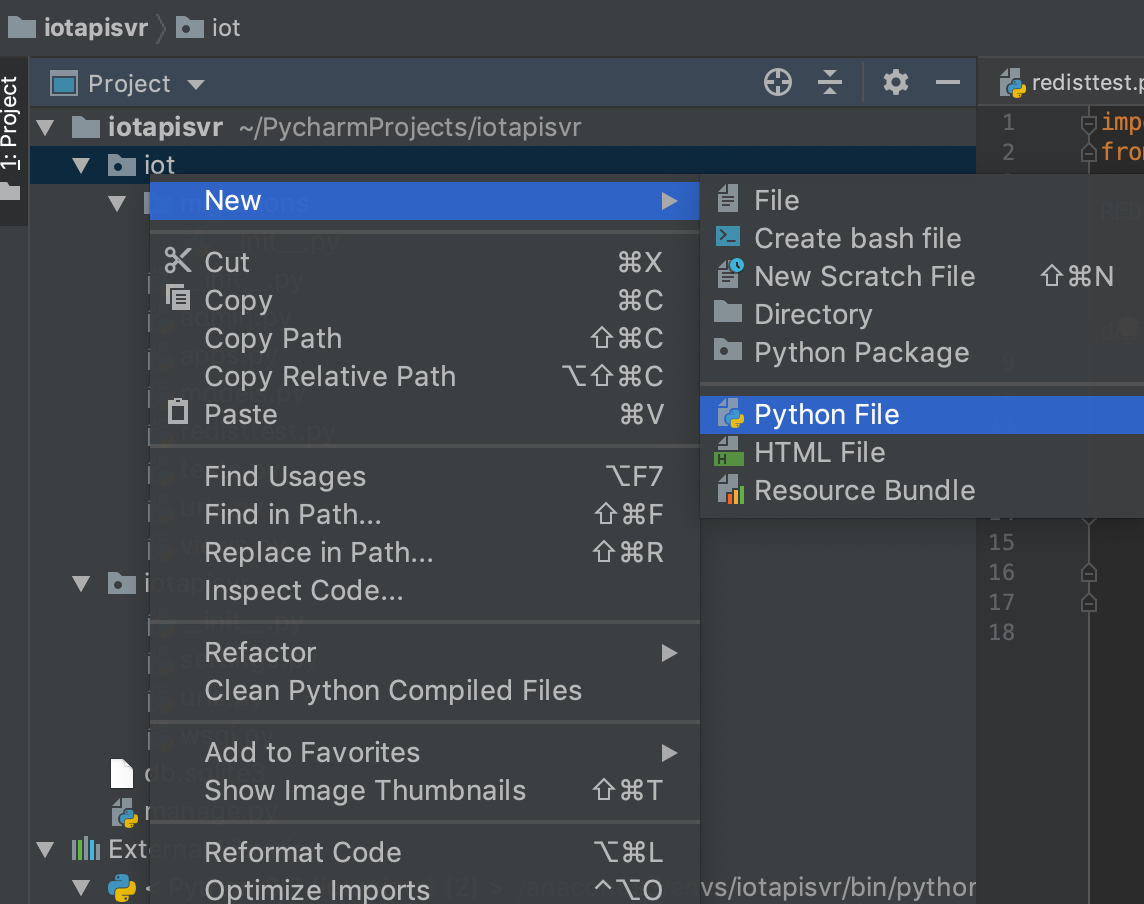
- iot/view.py
1 2 3 4 5 6 7 8 9 10 11 12 13 14 15 16 17 18 19 20 21 22 23 24 25 26 27 28 29 30 31 32 33 34 35 36 37 38 | import redis from django.http import HttpResponse ############################################################ # # Request for sensors # ############################################################ # Version Date Author Description ############################################################ # 1.0.0 2019-05-28 dorbae Initialize ############################################################ # Redis Connection Pool # db : db number (default : 0) REDIS_CONNECTION_POOL = redis.ConnectionPool(host='${REDIS_HOST}', port=6379, db=1, decode_responses=False, password='${REDIS_PASSWORD}, max_connections=5) # Method for getting the information of devices in specific group def get(request, group_id): print('[DEBUG] Search ' + group_id + '...') # Connect Redis through connect pool _redisClient = redis.Redis(connection_pool=REDIS_CONNECTION_POOL) # Set client name _redisClient.client_setname('iot.rest.api') # Get values matched with group_id _keys = _redisClient.keys(group_id + '|*') # Concat str result (likes csv) _result = '' for k in _keys: v = _redisClient.get(k) _result = _result + v.decode(encoding='utf-8') # return HTTP Response return HttpResponse(_result) |
5.3. Create url in app
-
New > Python File > urls.py
-
iot/urls.py
1 2 3 4 5 6 7 | from django.urls import path from . import views urlpatterns = [ path('<str:group_id>/', views.get, name='get'), ] |
5.4. Edit [PROJECT]/urls.py and register [APP]/urls.py
- iotapisvr/urls.py
1 2 3 4 5 6 7 | from django.contrib import admin from django.urls import path, include urlpatterns = [ path('admin/', admin.site.urls), path('sensors/', include('iot.urls')), ] |
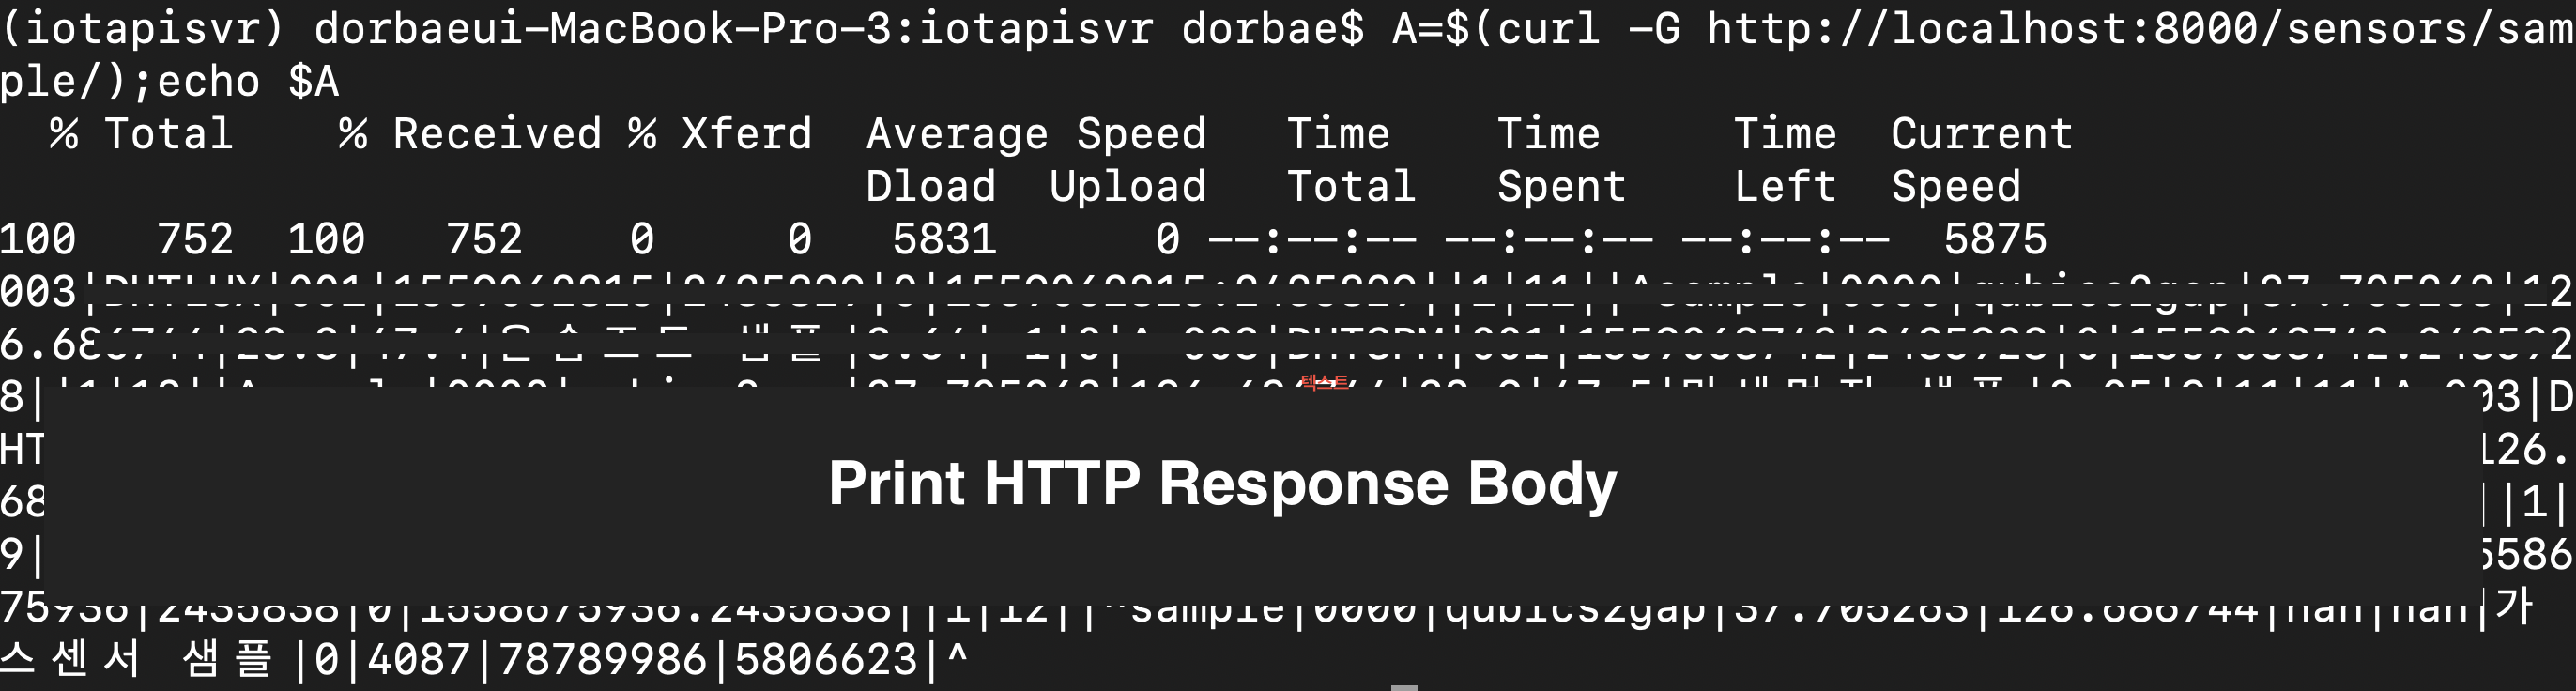
6. Run and test
1 | $ RESP_BODY=$(curl -G [URL]); echo $RESP_BODY
|
댓글남기기